
Projects and concepts
Putting your hands in clay, feeling paint on your fingers, squishing paper mache in your hands, hammering a nail into wood are all learning experiences about texture, color, function, use, and structure.


Papier-mâché (pap-yay mash-ay) Structures
Materials for building:
- Cardboard Scraps
- Scissors
- Masking Tape
- Paper mâché "glue"
- Water (equal parts)
- Flour (equal parts)
- Newspaper or brown paper strips
- An enjoyment of gooey things
Materials for painting:
- Acrylic paint and brushes
- water for washing brushes
- Brushes
- Sponges to dry brushes
- Drying boards, trays or rack
These projects were created by students from kindergarten through second grade. The project was to create buildings from cardboard scraps, tape, paper mâché them, and then paint them. These projects push the children to think about shape and structure. They use the tape to hold pieces together but also to create tension to hold the shape they desire. The process of paper mâché is always messy fun!
Step one: Plan your build. We spoke to the kids about what they wanted to build. What does it look like? Is it tall? wide? round? Is it a home? All these questions get the kids to start talking about their project and deciding on what they are building before they start they get to a point where it is too late to go back and change.
Step two: Start building. Using the cardboard strip and the scissors the kids began to cut out the pieces that they needed. We helped them decide if it was stronger to cut the cardboard or bend it. We were able to discuss measurements of walls and how to reinforce taller walls since the cardboard would not been seen in the end. The kids then used tape to connect the pieces to each other and the base. Since the entire structure and base will be covered in paper mâché, the tape just needed to hold it in place.
Step three: Let's get dirty with paper mâché! In this section the kids now get to feel the gooeyness of the paper mâché glue and talk about measurements. Creating the mixture allows us to talk to the kids about measurements. What happens when you don't add equal parts. Does it get too runny? Is it too think? And what does that mean for the stability of the piece? Here is where science and art become friends in the classroom.
Once the the mixture is ready it's time to get messy. Many kids try not to touch the solution at first while others dive right in. The process of dipping strips of paper into the solution and coating the structures is fun and feels good on the hands. Many of the kids needed to be told that they had added enough because they keep wanting to add more and put their hands in the glue! The kids take the strips and cover absolutely everything, this will secure the pieces of cardboard together and to the base. I also suggest to wrap the strips over the base and fold under to make a nice seal. The kids are encouraged do at least two layers of paper mâché and go in both directions. After the structure is covered, move it to a place to dry.
Step four: Painting! Now that the structure is complete it's time to paint. This kids are given 5 colors of paint, Red, Blue, Yellow, Black, and White. From this base they can make all the colors they need. They are encouraged to paint the entire structure including the base. Once they are done the structures are set aside to dry.
Step five: How did it go? After all the projects are done we always leave time for the students to talk about the challenges and wins they experienced throughout the project. We do this daily and a full project overview. This also allows us an opportunity to ask the kids what they like about other kids work. This allows them to look critically at their classmates work and highlight and learn from what they did.


Ceramics
Materials:
- Clay
- Kiln
- Paint & brushes
- Cone 6 Glaze and brushes
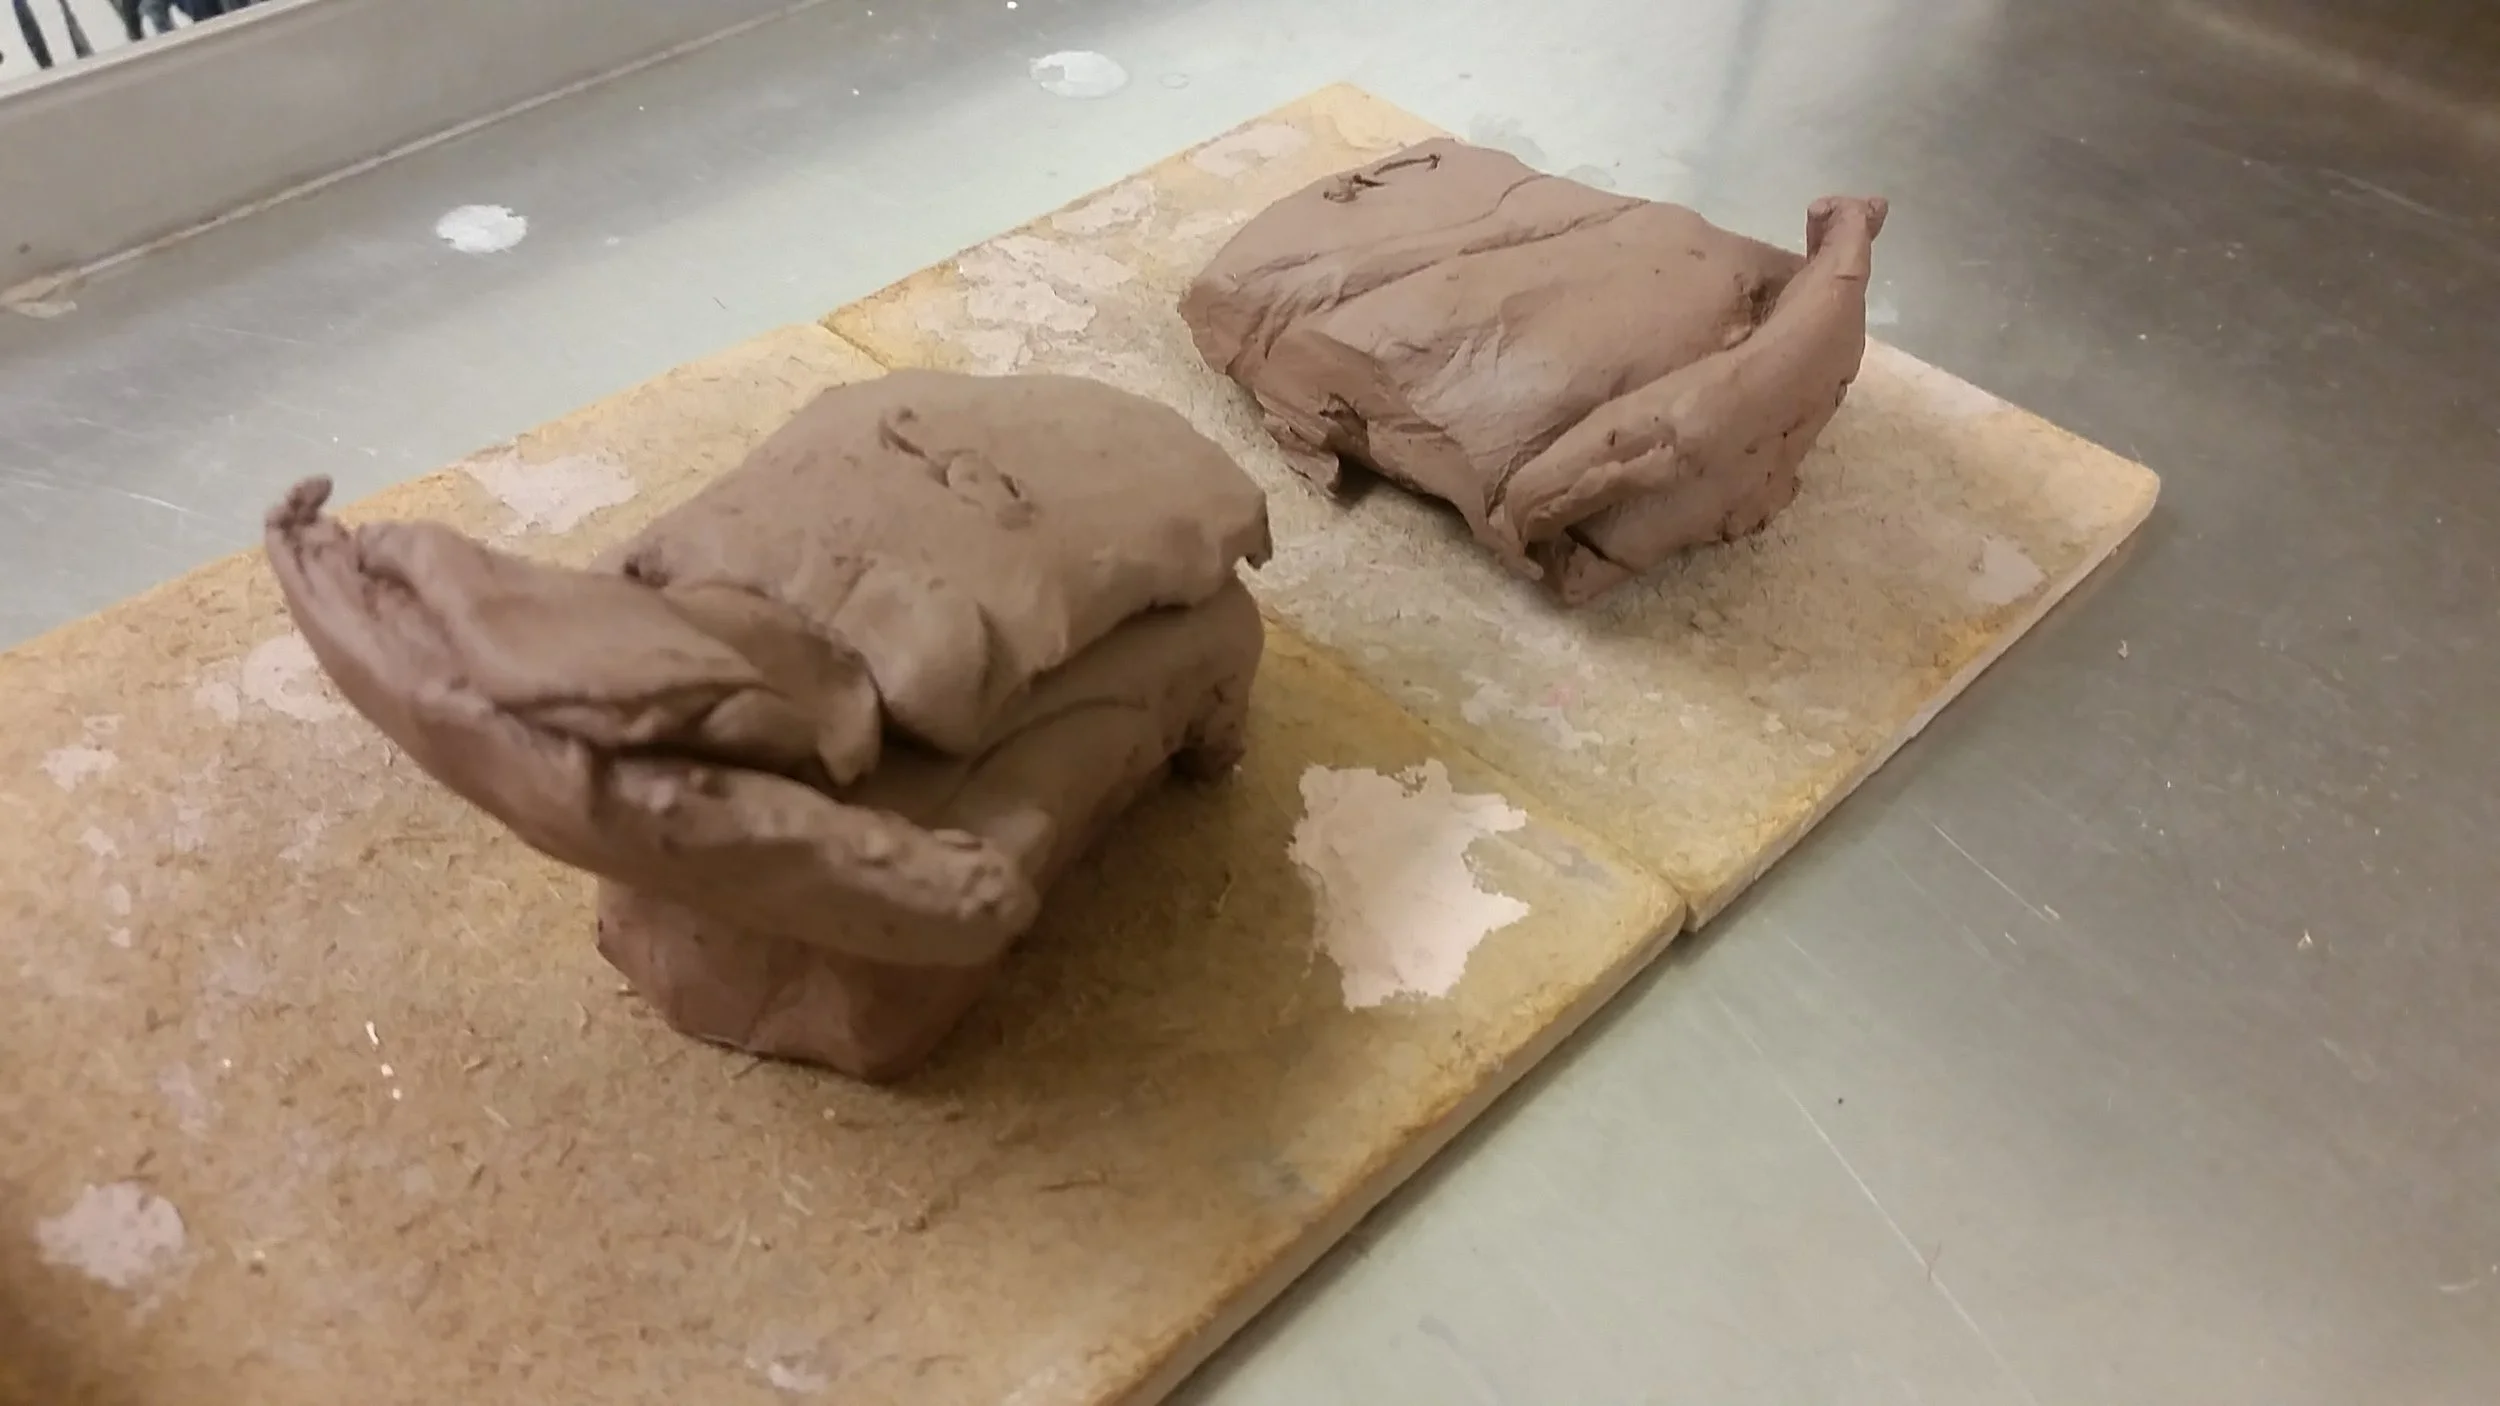
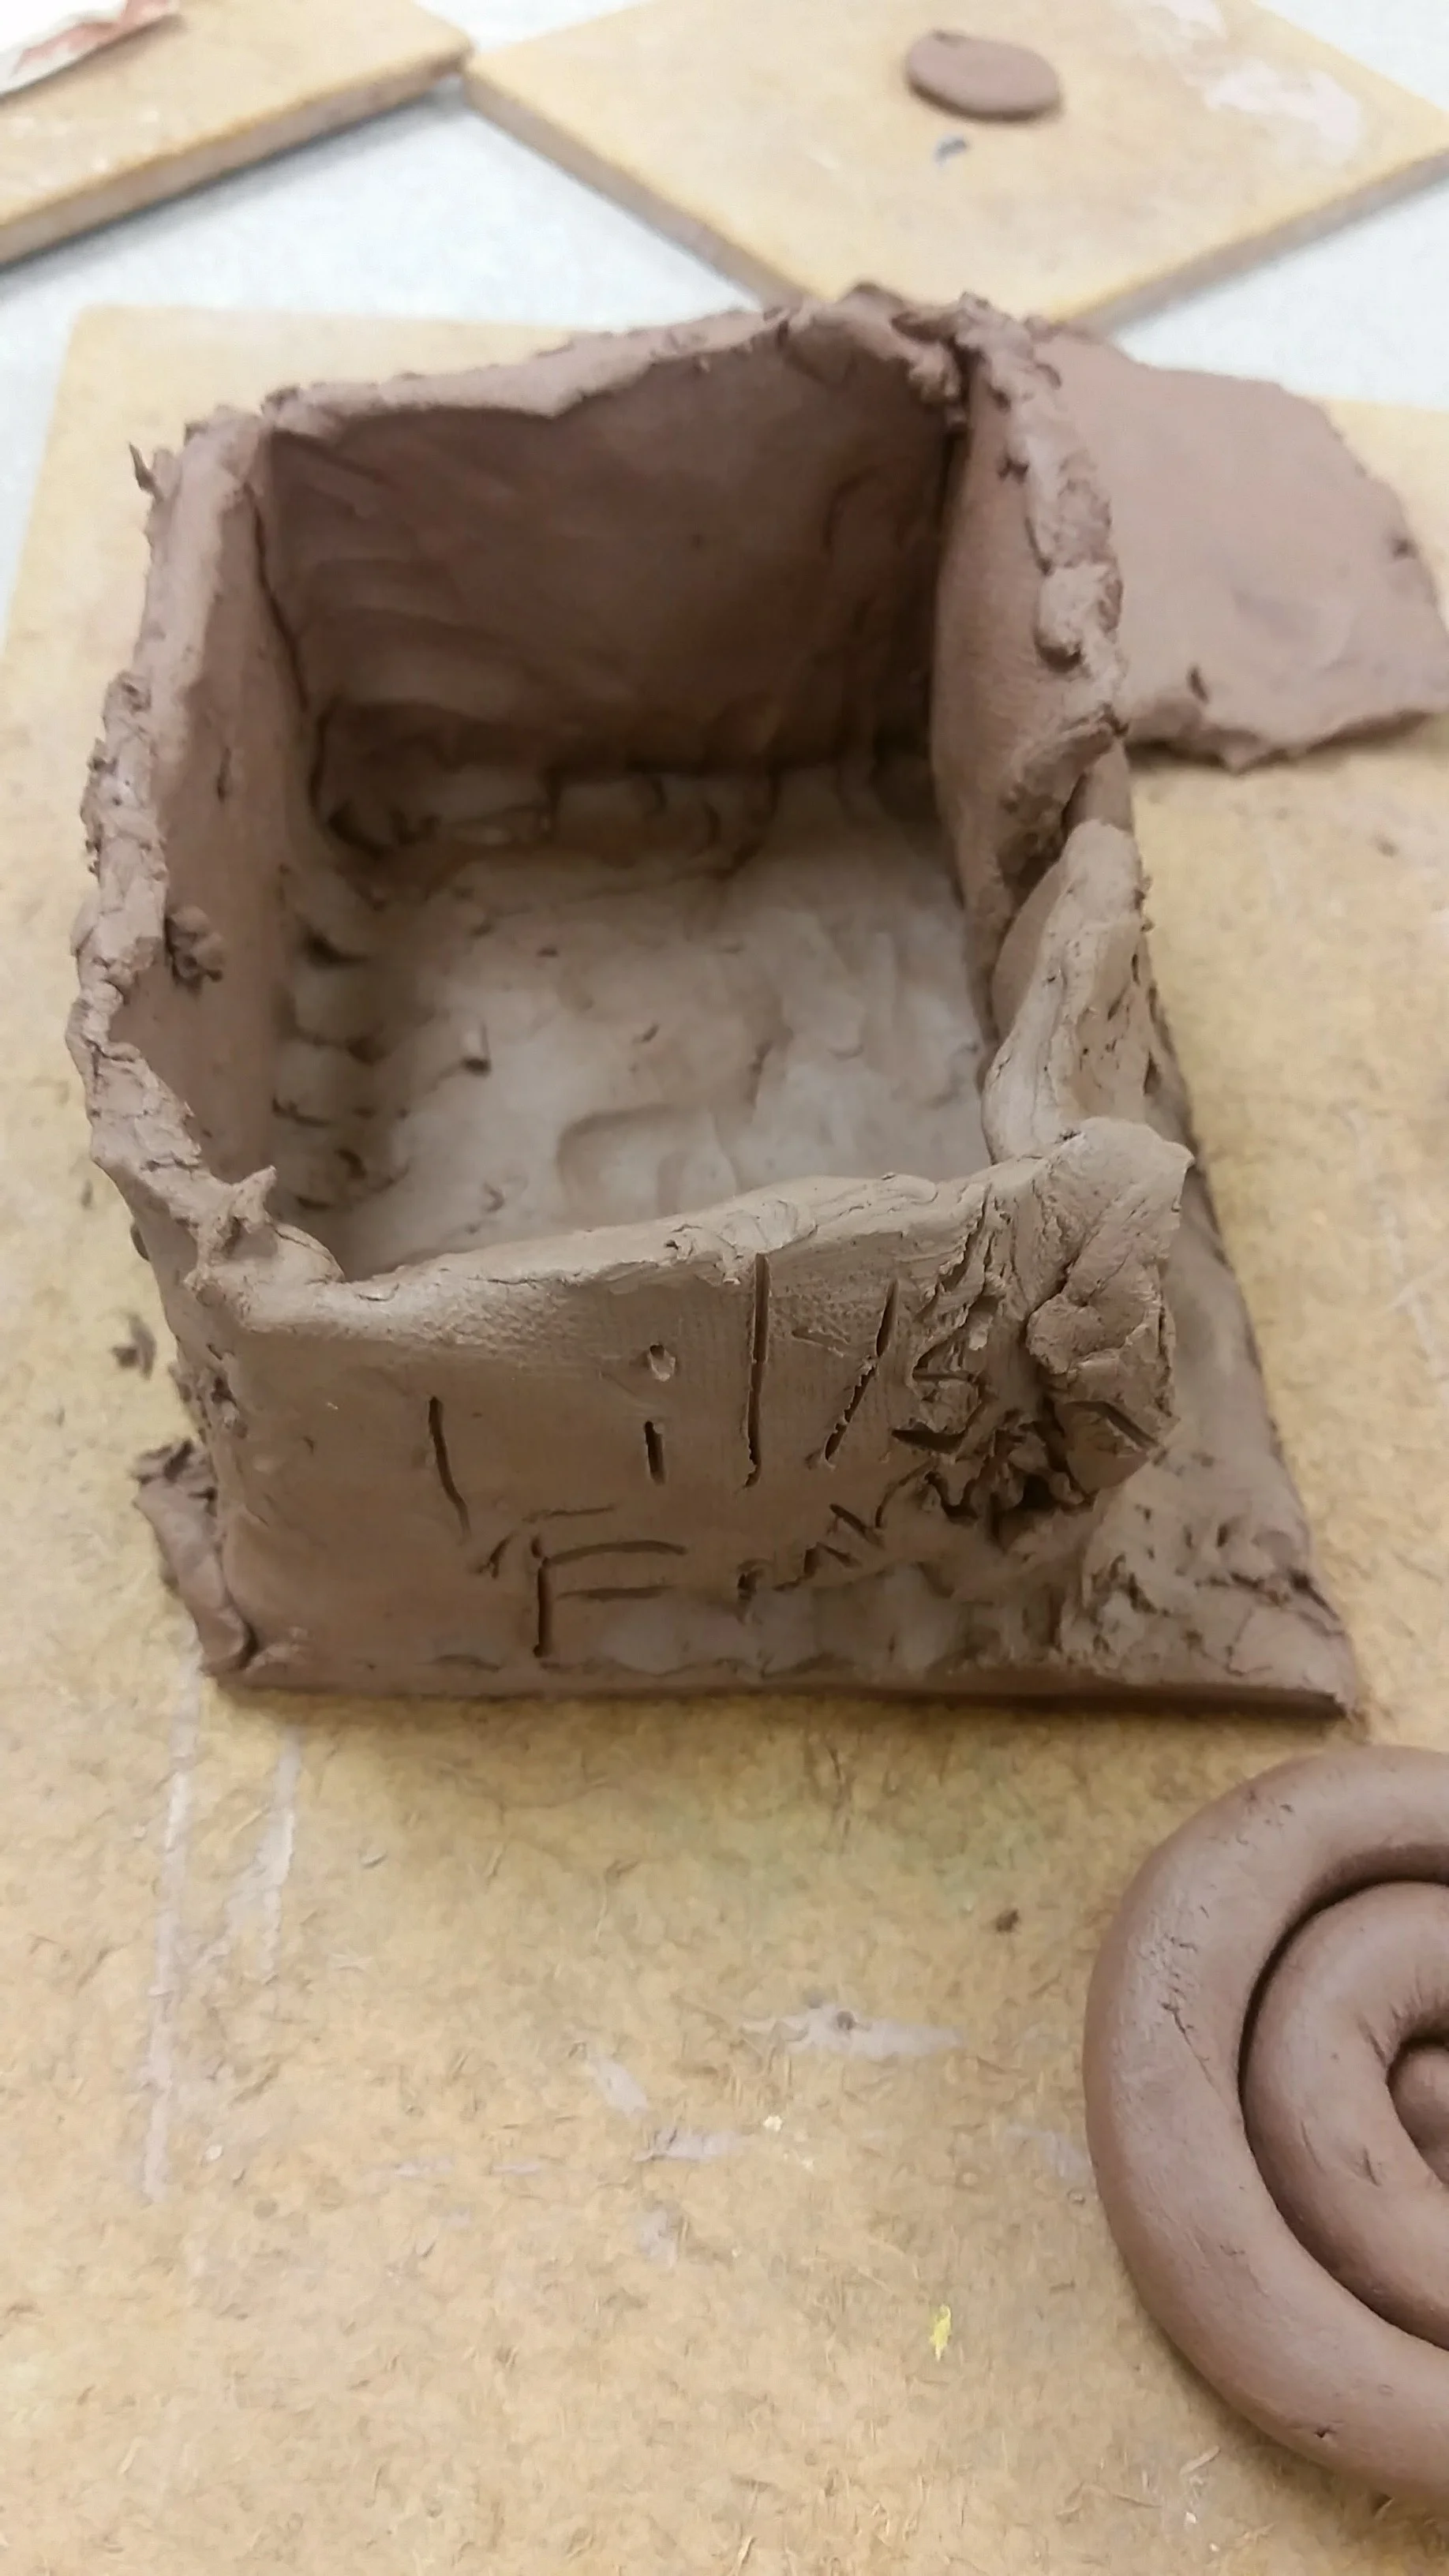
These ceramic projects are from lower school students ranging from first grade through 4th grade. They were allowed to decide on their own projects but we work with them on formulating their ideas and more specifically on building techniques for the structures, ensuring pieces will be connected properly, and of course creating structures that won't break or explode. The younger students generally opt to paint the clay with acrylic paint where they can mix the colors on a tray and immediately know what color they are painting on. As the children become older they delve into glazes which are a bit more abstract since the color you paint on the piece is not always the color it will become after firing. For example: blue glaze may look pink before firing but will fire to blue. We also discuss layering glazes and the effects you can achieve with different techniques.
Furniture, First Grade: In the images above there are two pieces of children in the same grade. One is very focused on furniture right now and is constantly making different pieces including and night stand, and table and chairs. We have begun to work with him on proportion so that his chair fits under the table and the nigh stand is not larger than the bed. He is at a stage where he prefers to paint the pieces after firing not glaze. He enjoys mixing the colors on the paint tray to create the exact color he wants to glazing. Recently he glazed one of his pieces and was confused at first by the naming of the color against what he saw and how much longer it took for the glaze to dry before he could add another color.
Underwater Scene, First Grade: Another first grade student is very focused on nature scenes. While she is in the same grade, her development in the art room is leaps ahead of her classmate. She is creating entire entire nature scenes, in this case an underwater landscapes with water animals paying and seaweed flowing. She is showing though in layout, understanding of proportion, and movement in her work. She has also made choices to not attach certain pieces like the turtle and the otter family so that she can move them around to play with after firing. Conversation with this student often involve proportion and difficult joint connections for her animals. She is also very cognizant of what was difficult for her and why. "The fins of the turtle were very difficult because they were so thin and at an angle, so I had to be careful to attach them right.
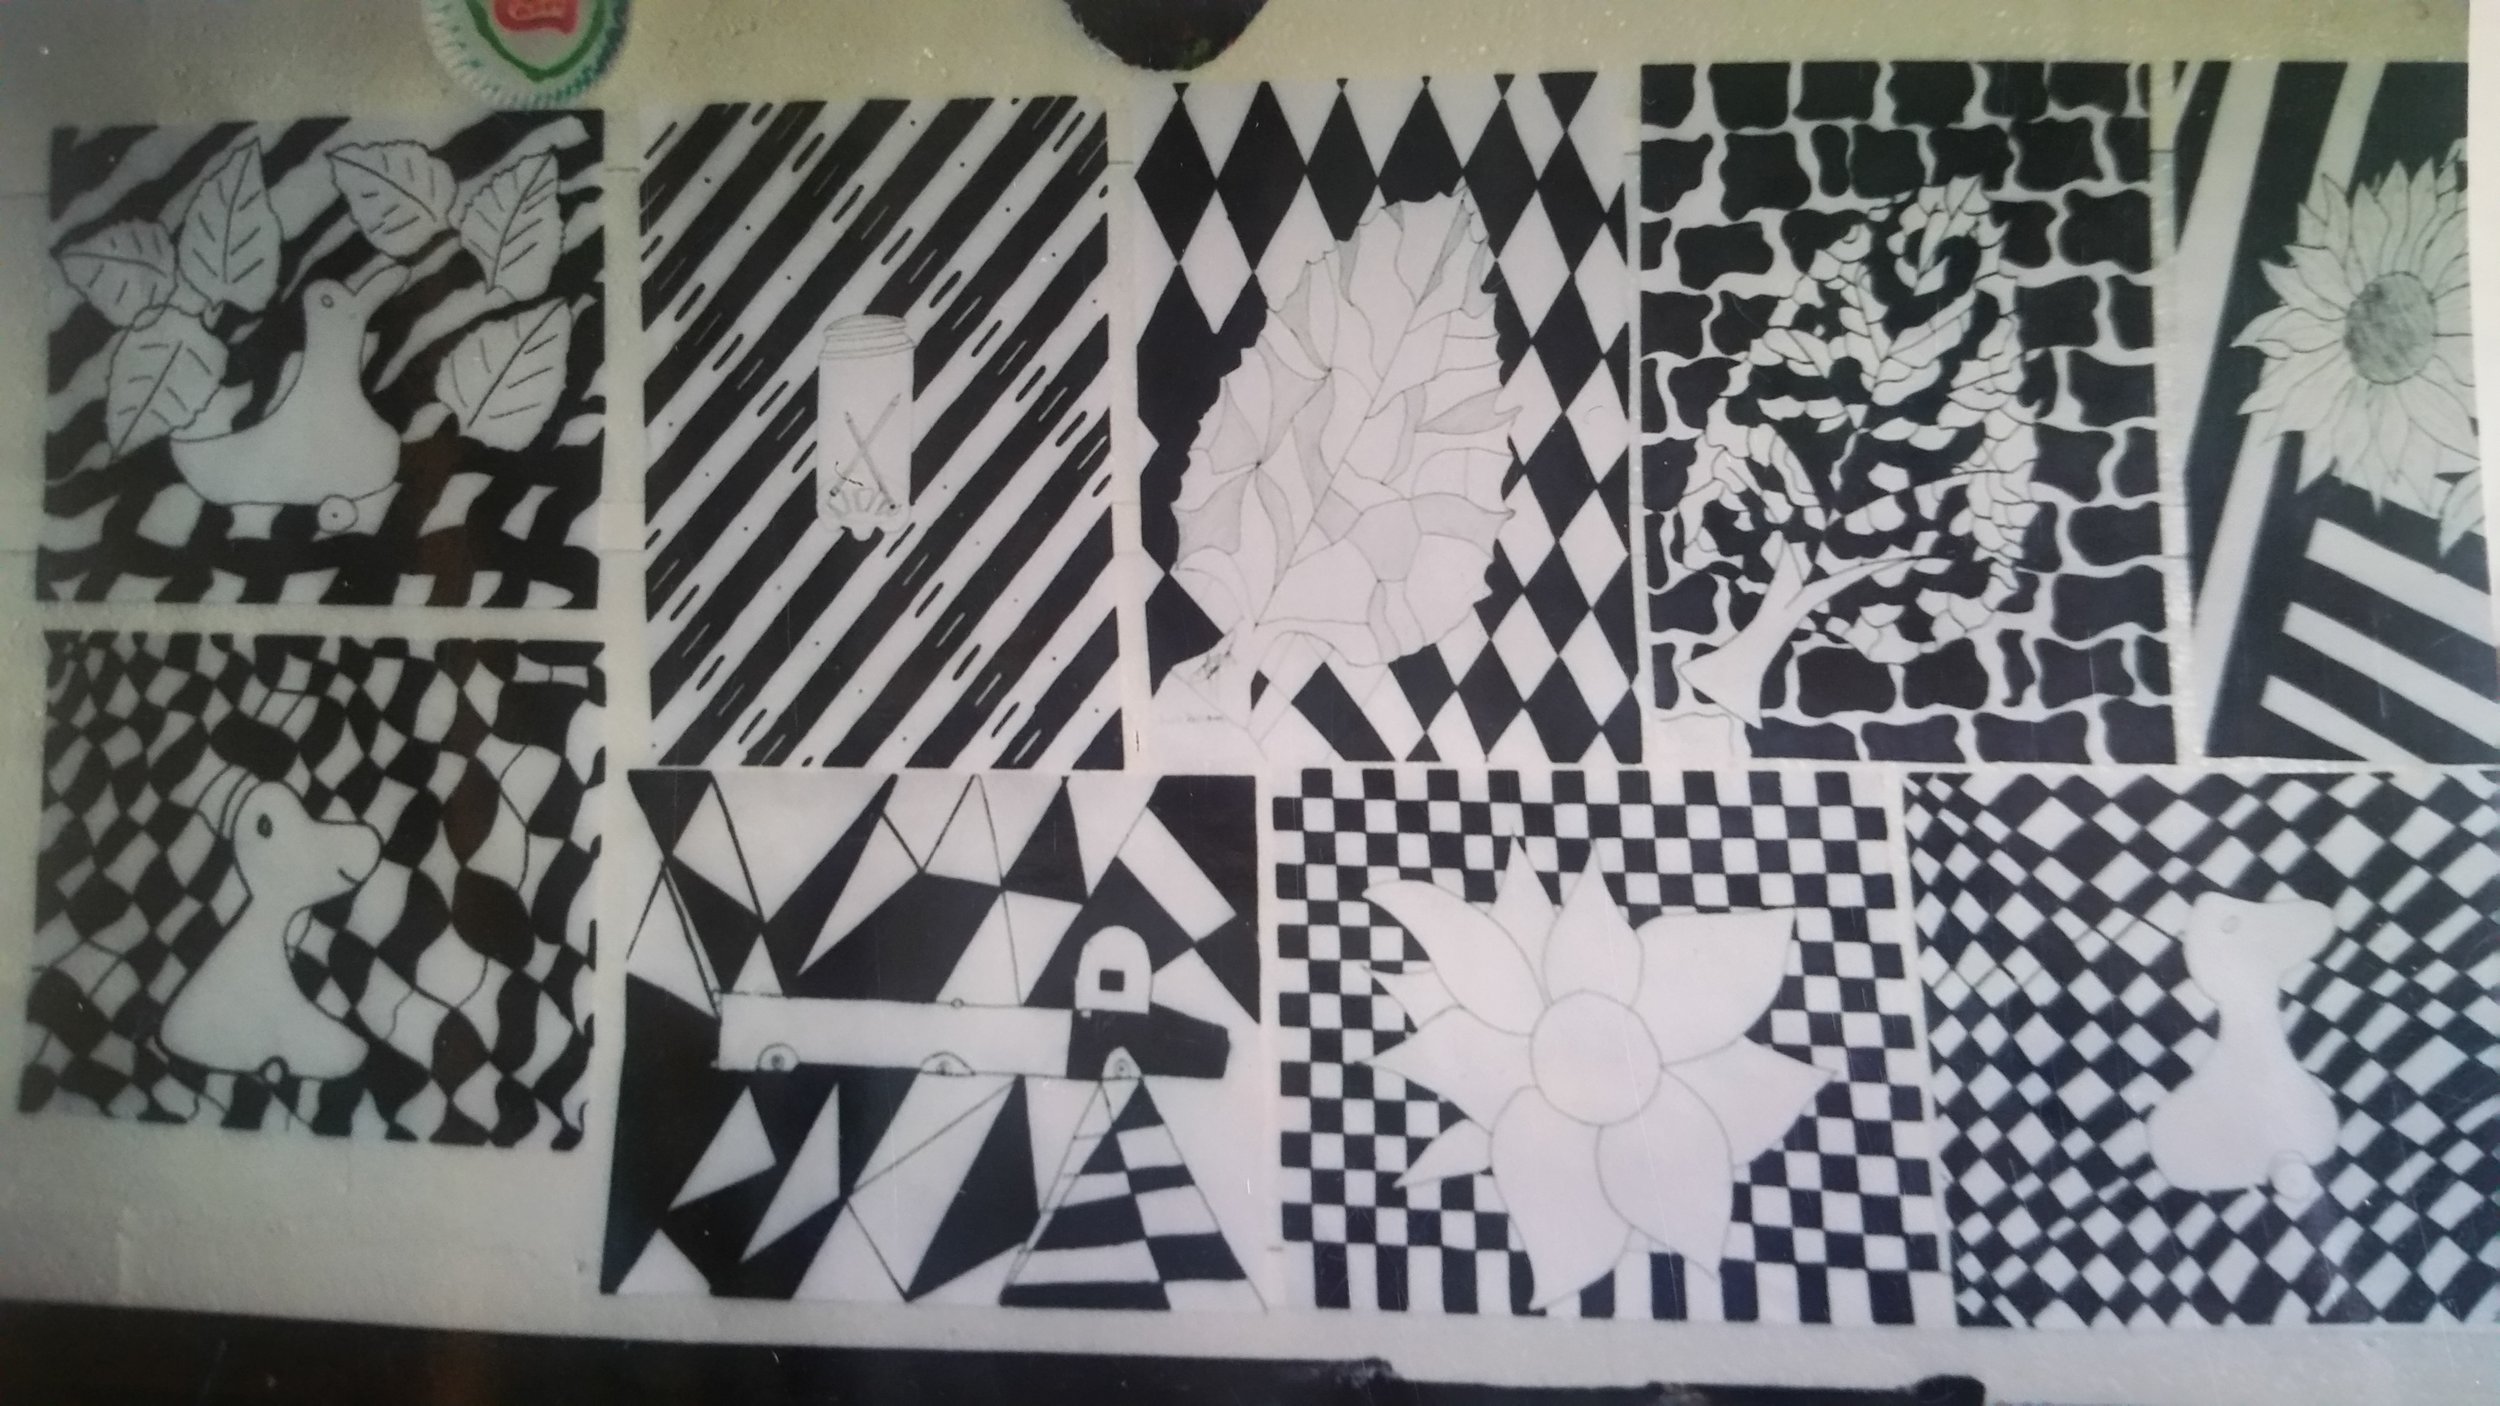
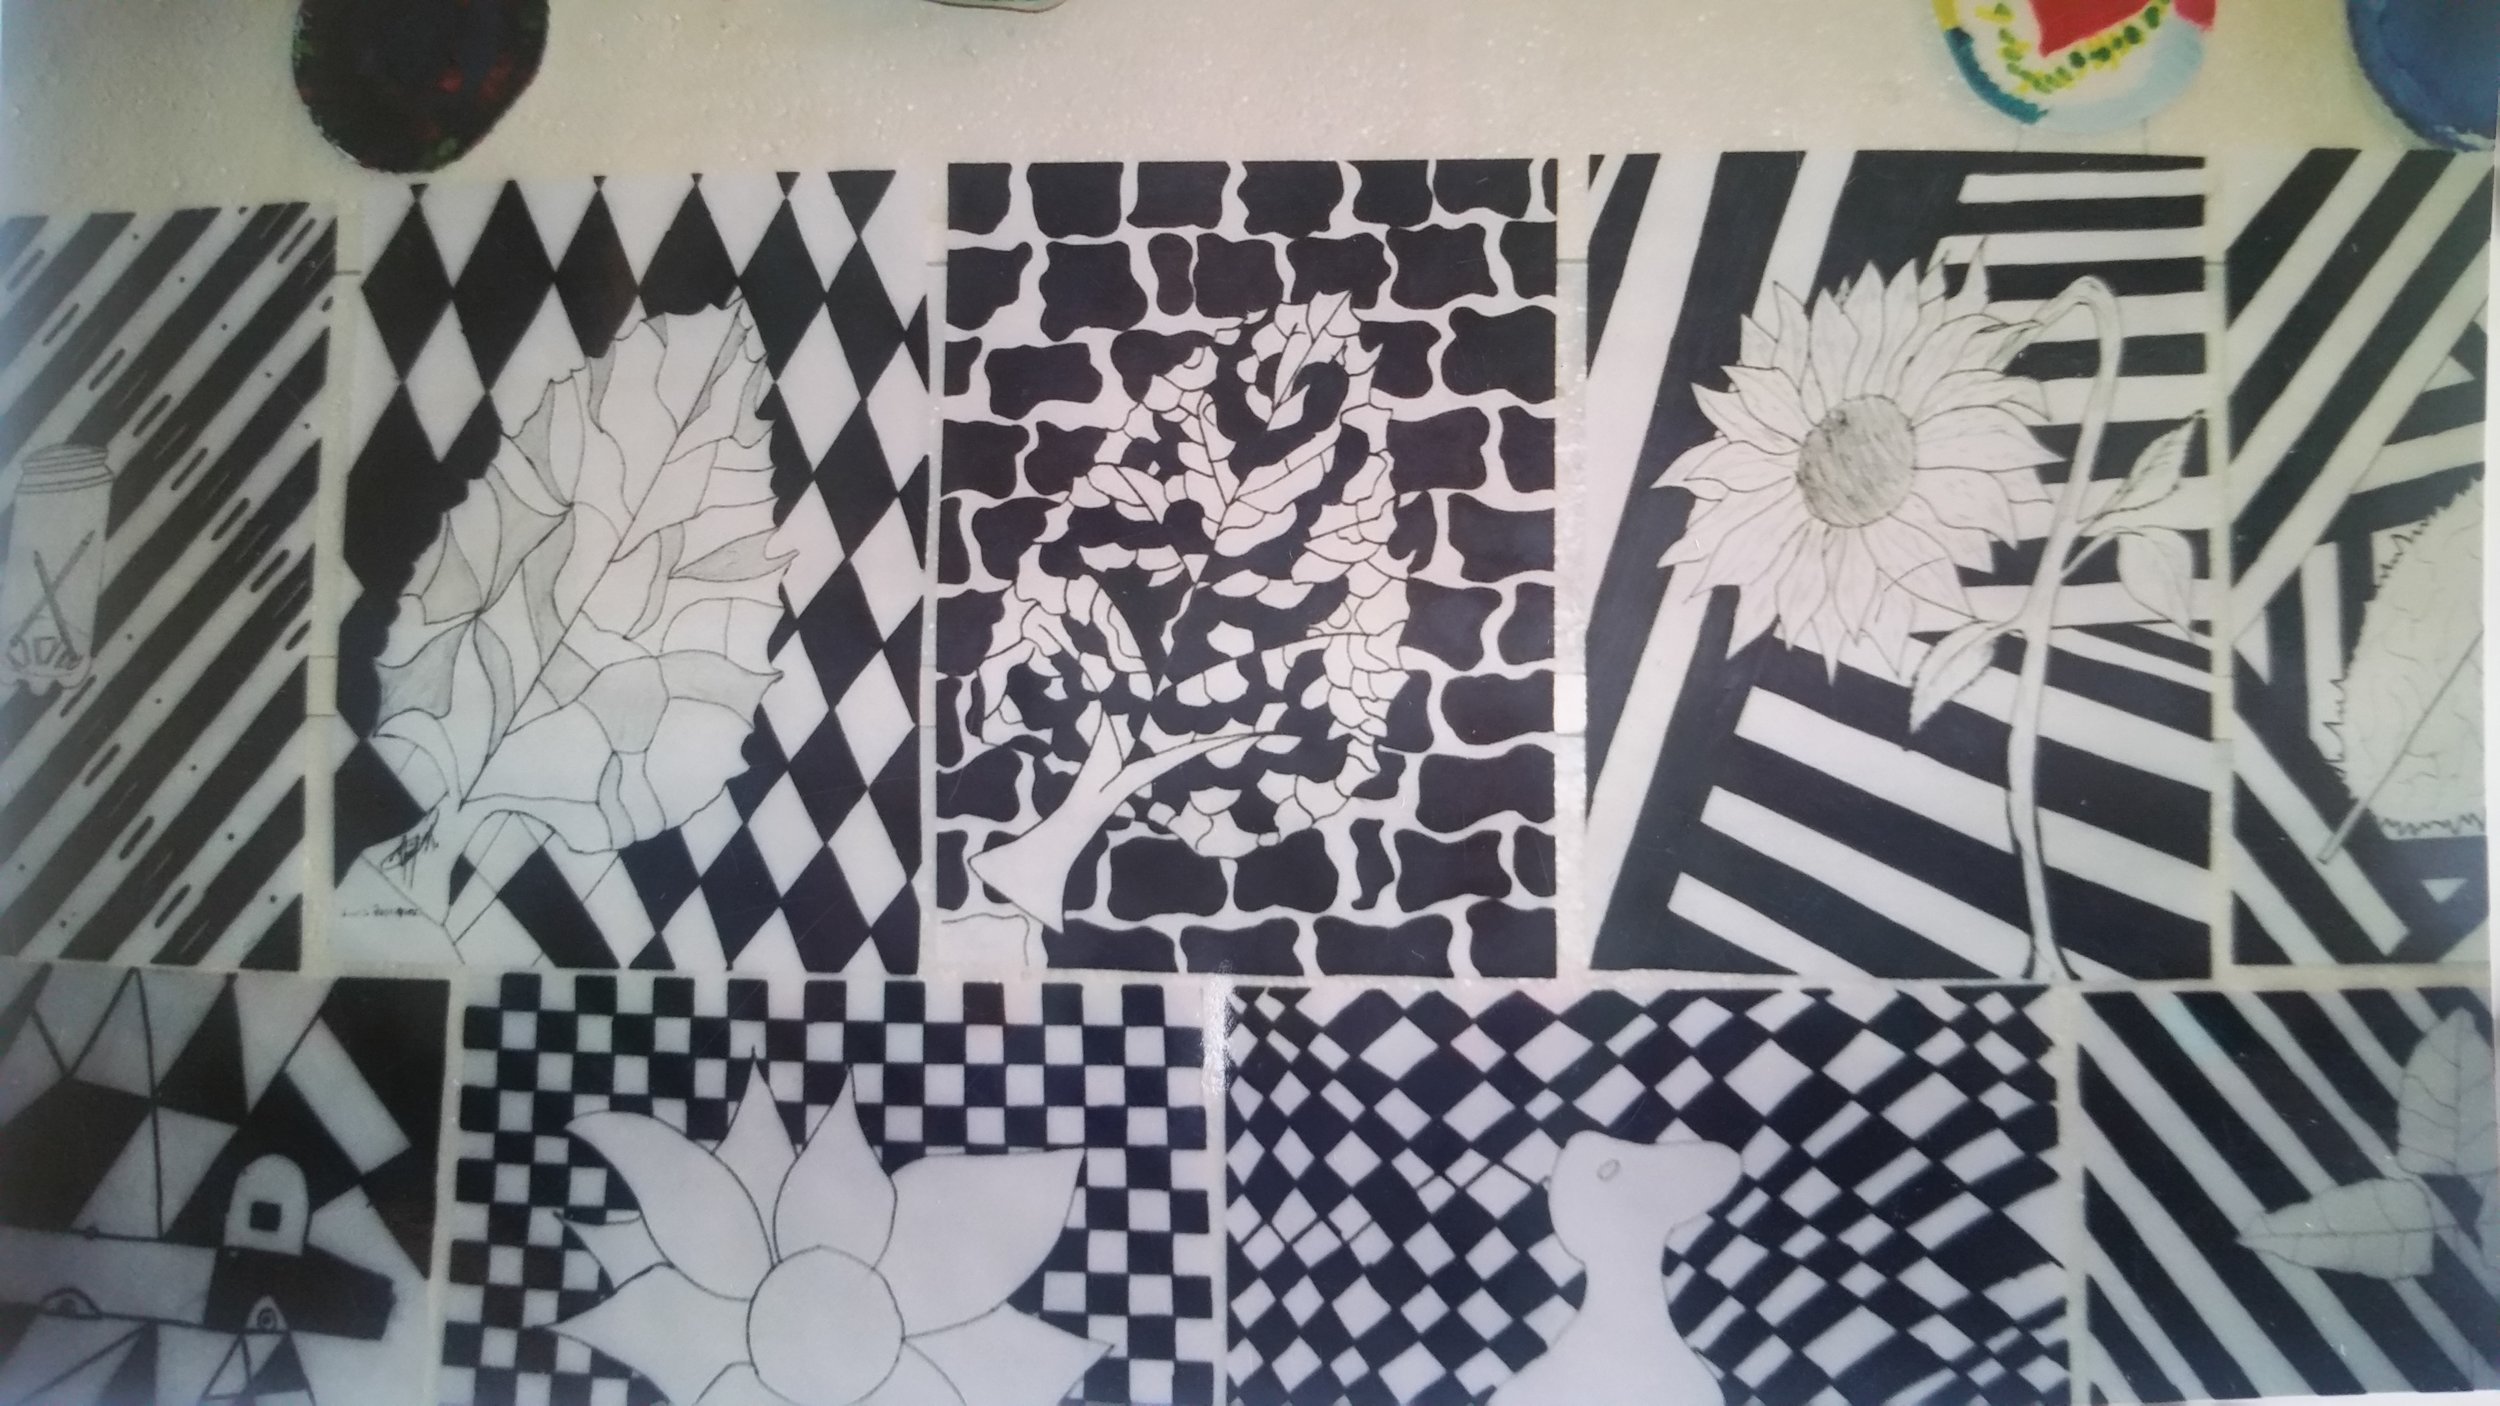
Black and White Perspective
Materials:
- object for still life
- Paper
- ruler
- sharpie
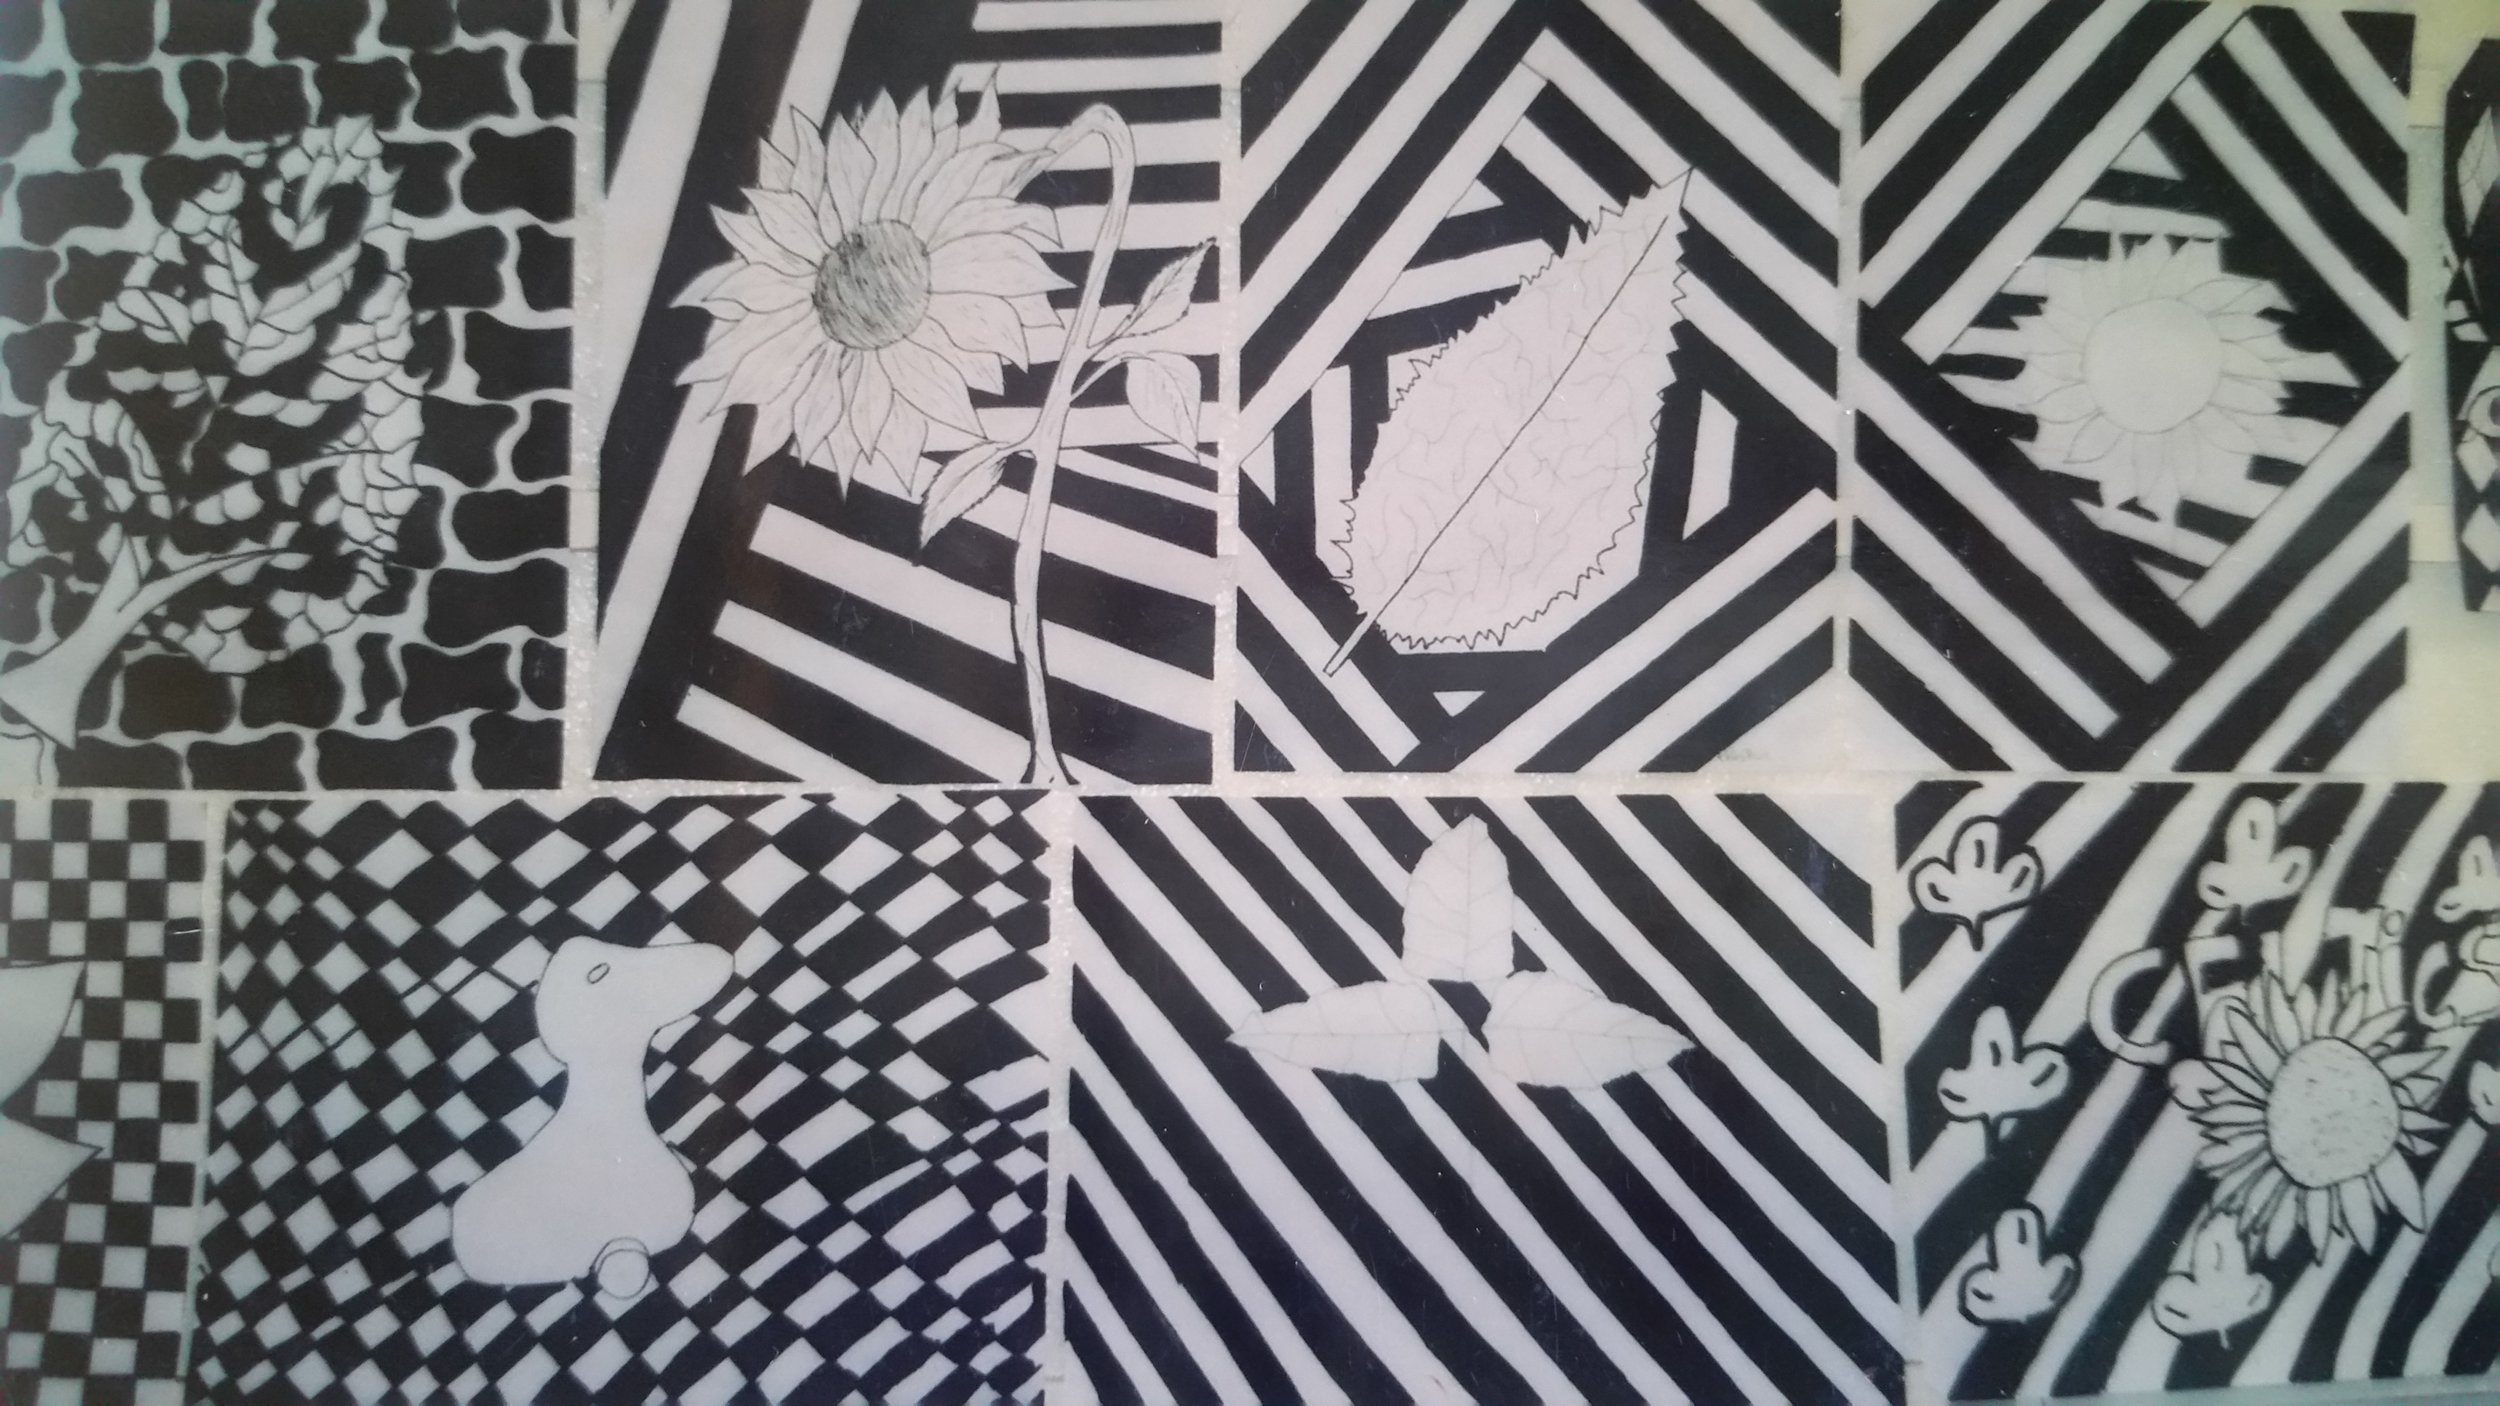
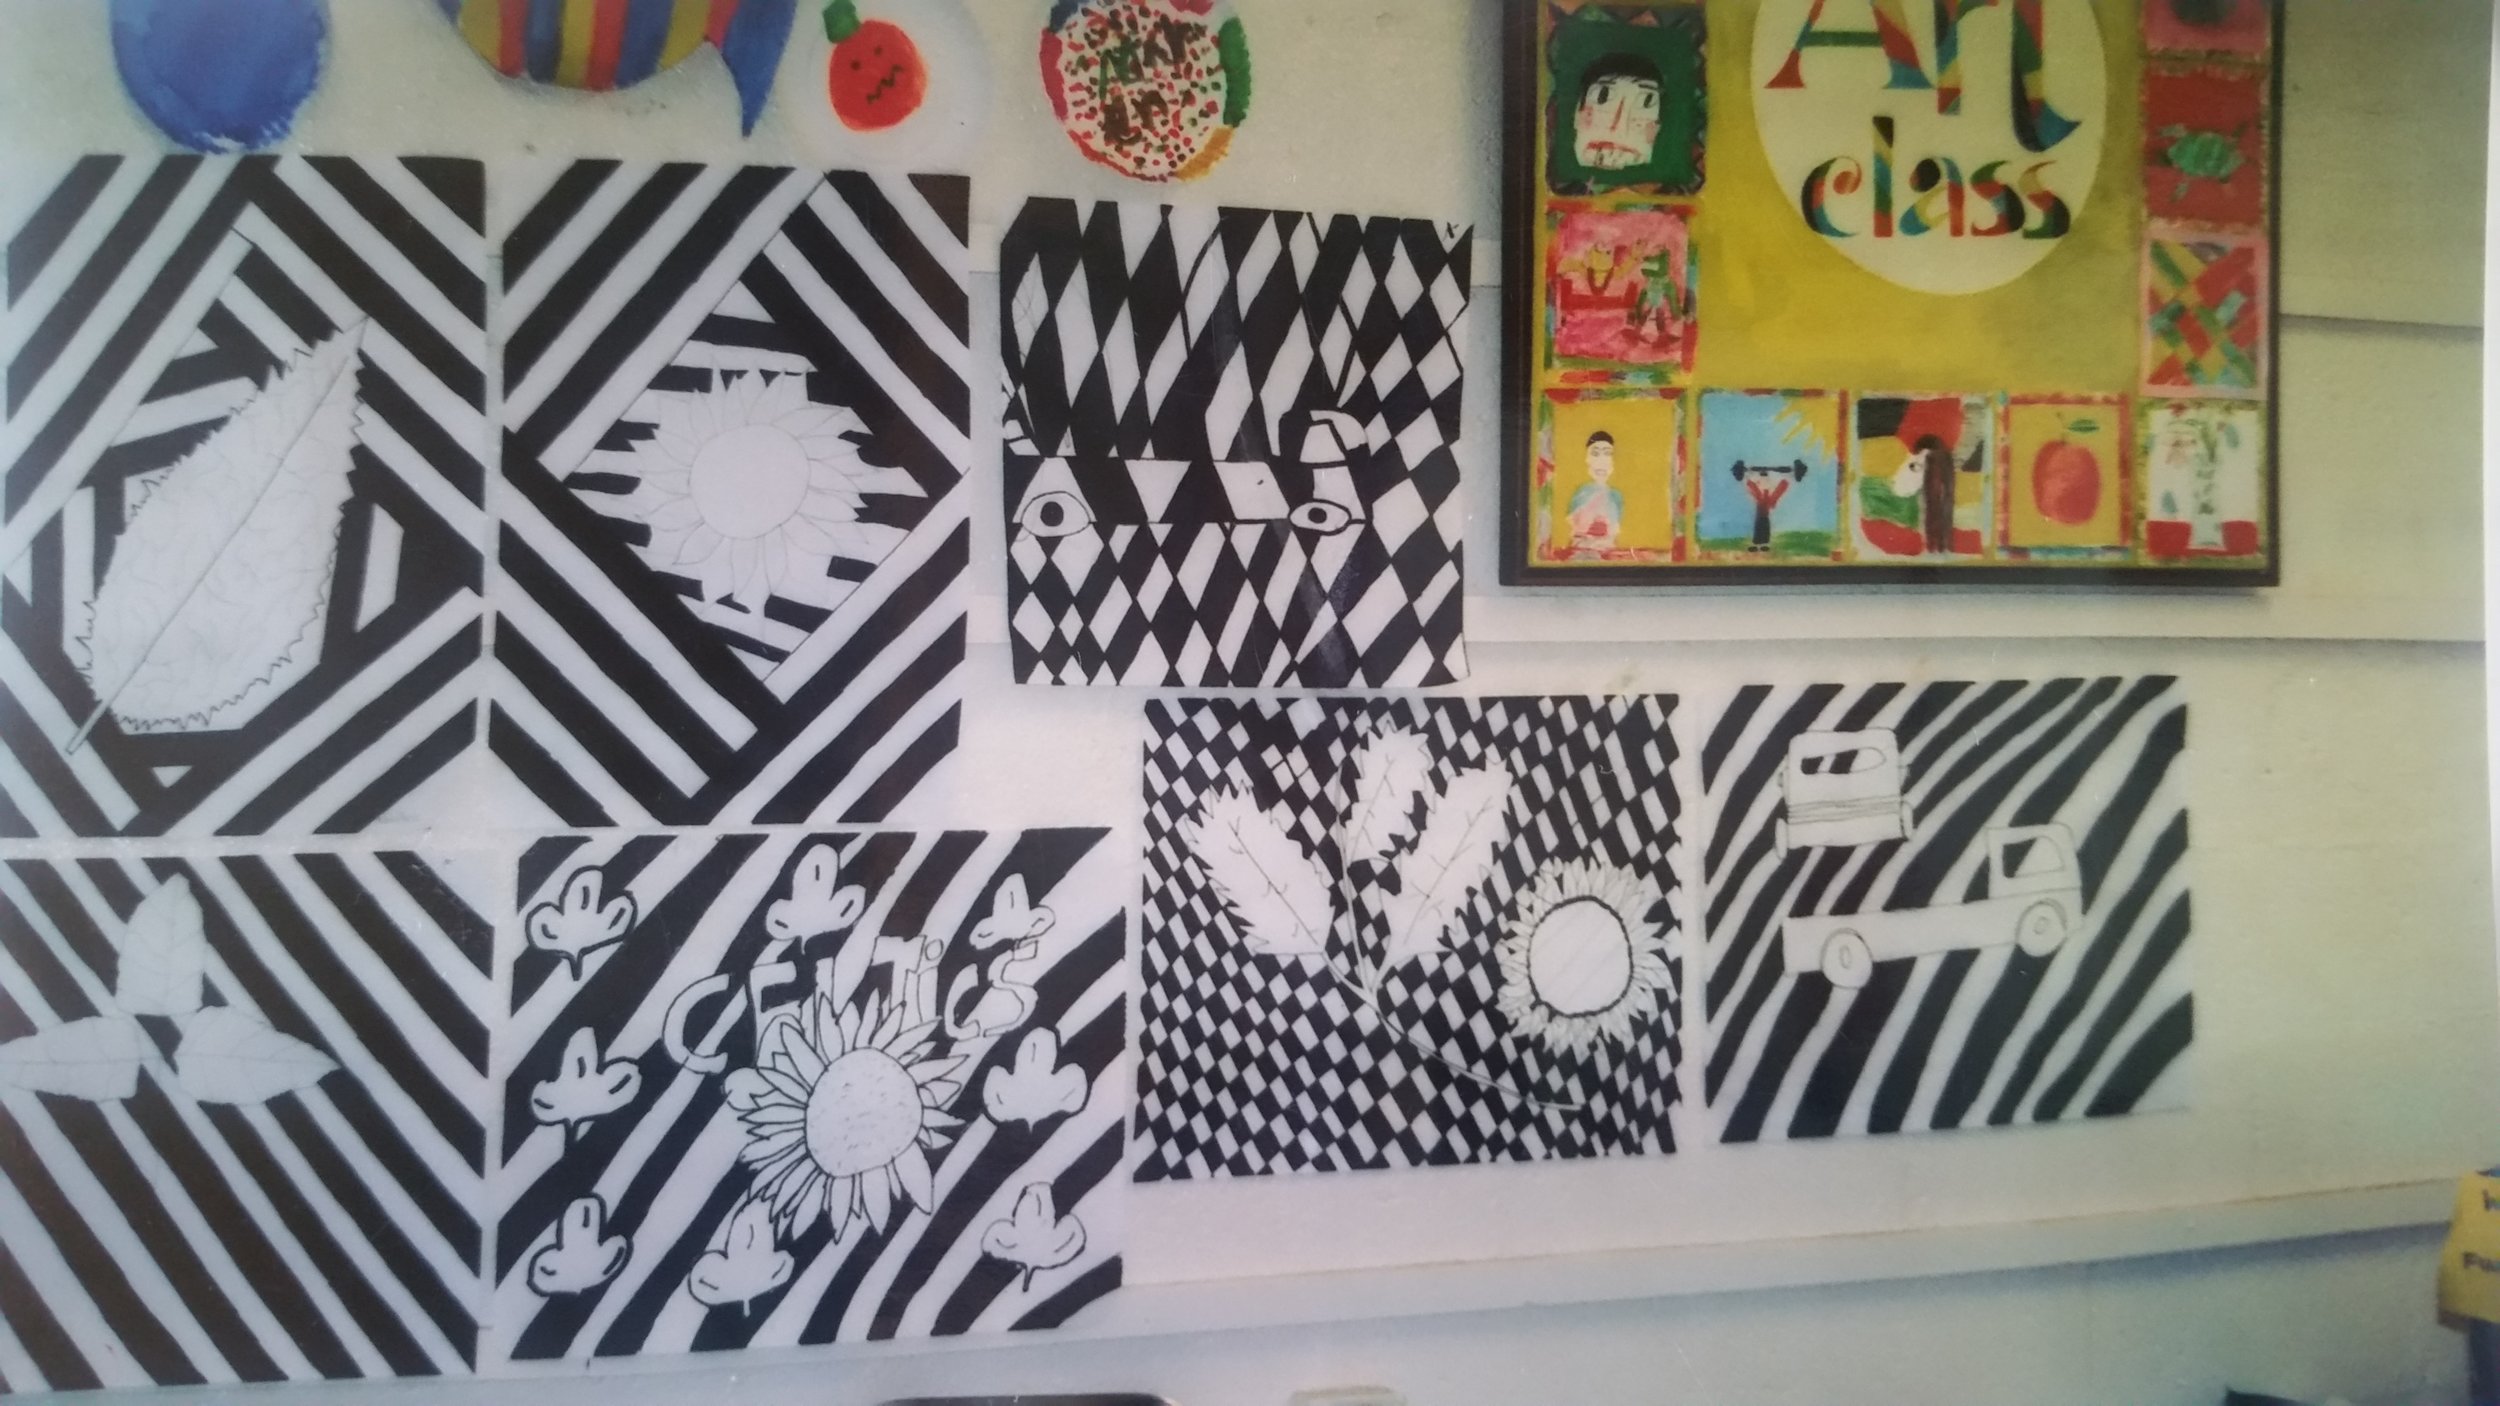
This project was done with teenagers, more specifically eighth graders of ranging ages. The project was to do a simple still life drawing of an object that they brought in or from a bunch of items I had brought in. Once the still life was complete, they were to add a geometric pattern to the back ground to make the object appear to be in front of the pattern or floating. With this group of kids we were able to discuss which drawing popped more and which didn't and why. Was one pattern more effective than another? Do the thickness of the lines effect the desired outcome? Why was black and white used as versus color?